
“It is unlikely that the stalk of wheat, inclining sunward, bathed with breezes and light, is merrily awaiting the day it will become a loaf of bread” – Jeffrey Hamelman
This is the end of the line. The final act. The last transformation where a humble ball of dough will spring into a dark, crusty, deeply satisfying loaf of bread. All of your efforts and time will be displayed. The song of the bread will be heard as the crust crackles as it cools. You will have given life to bread with a soul.
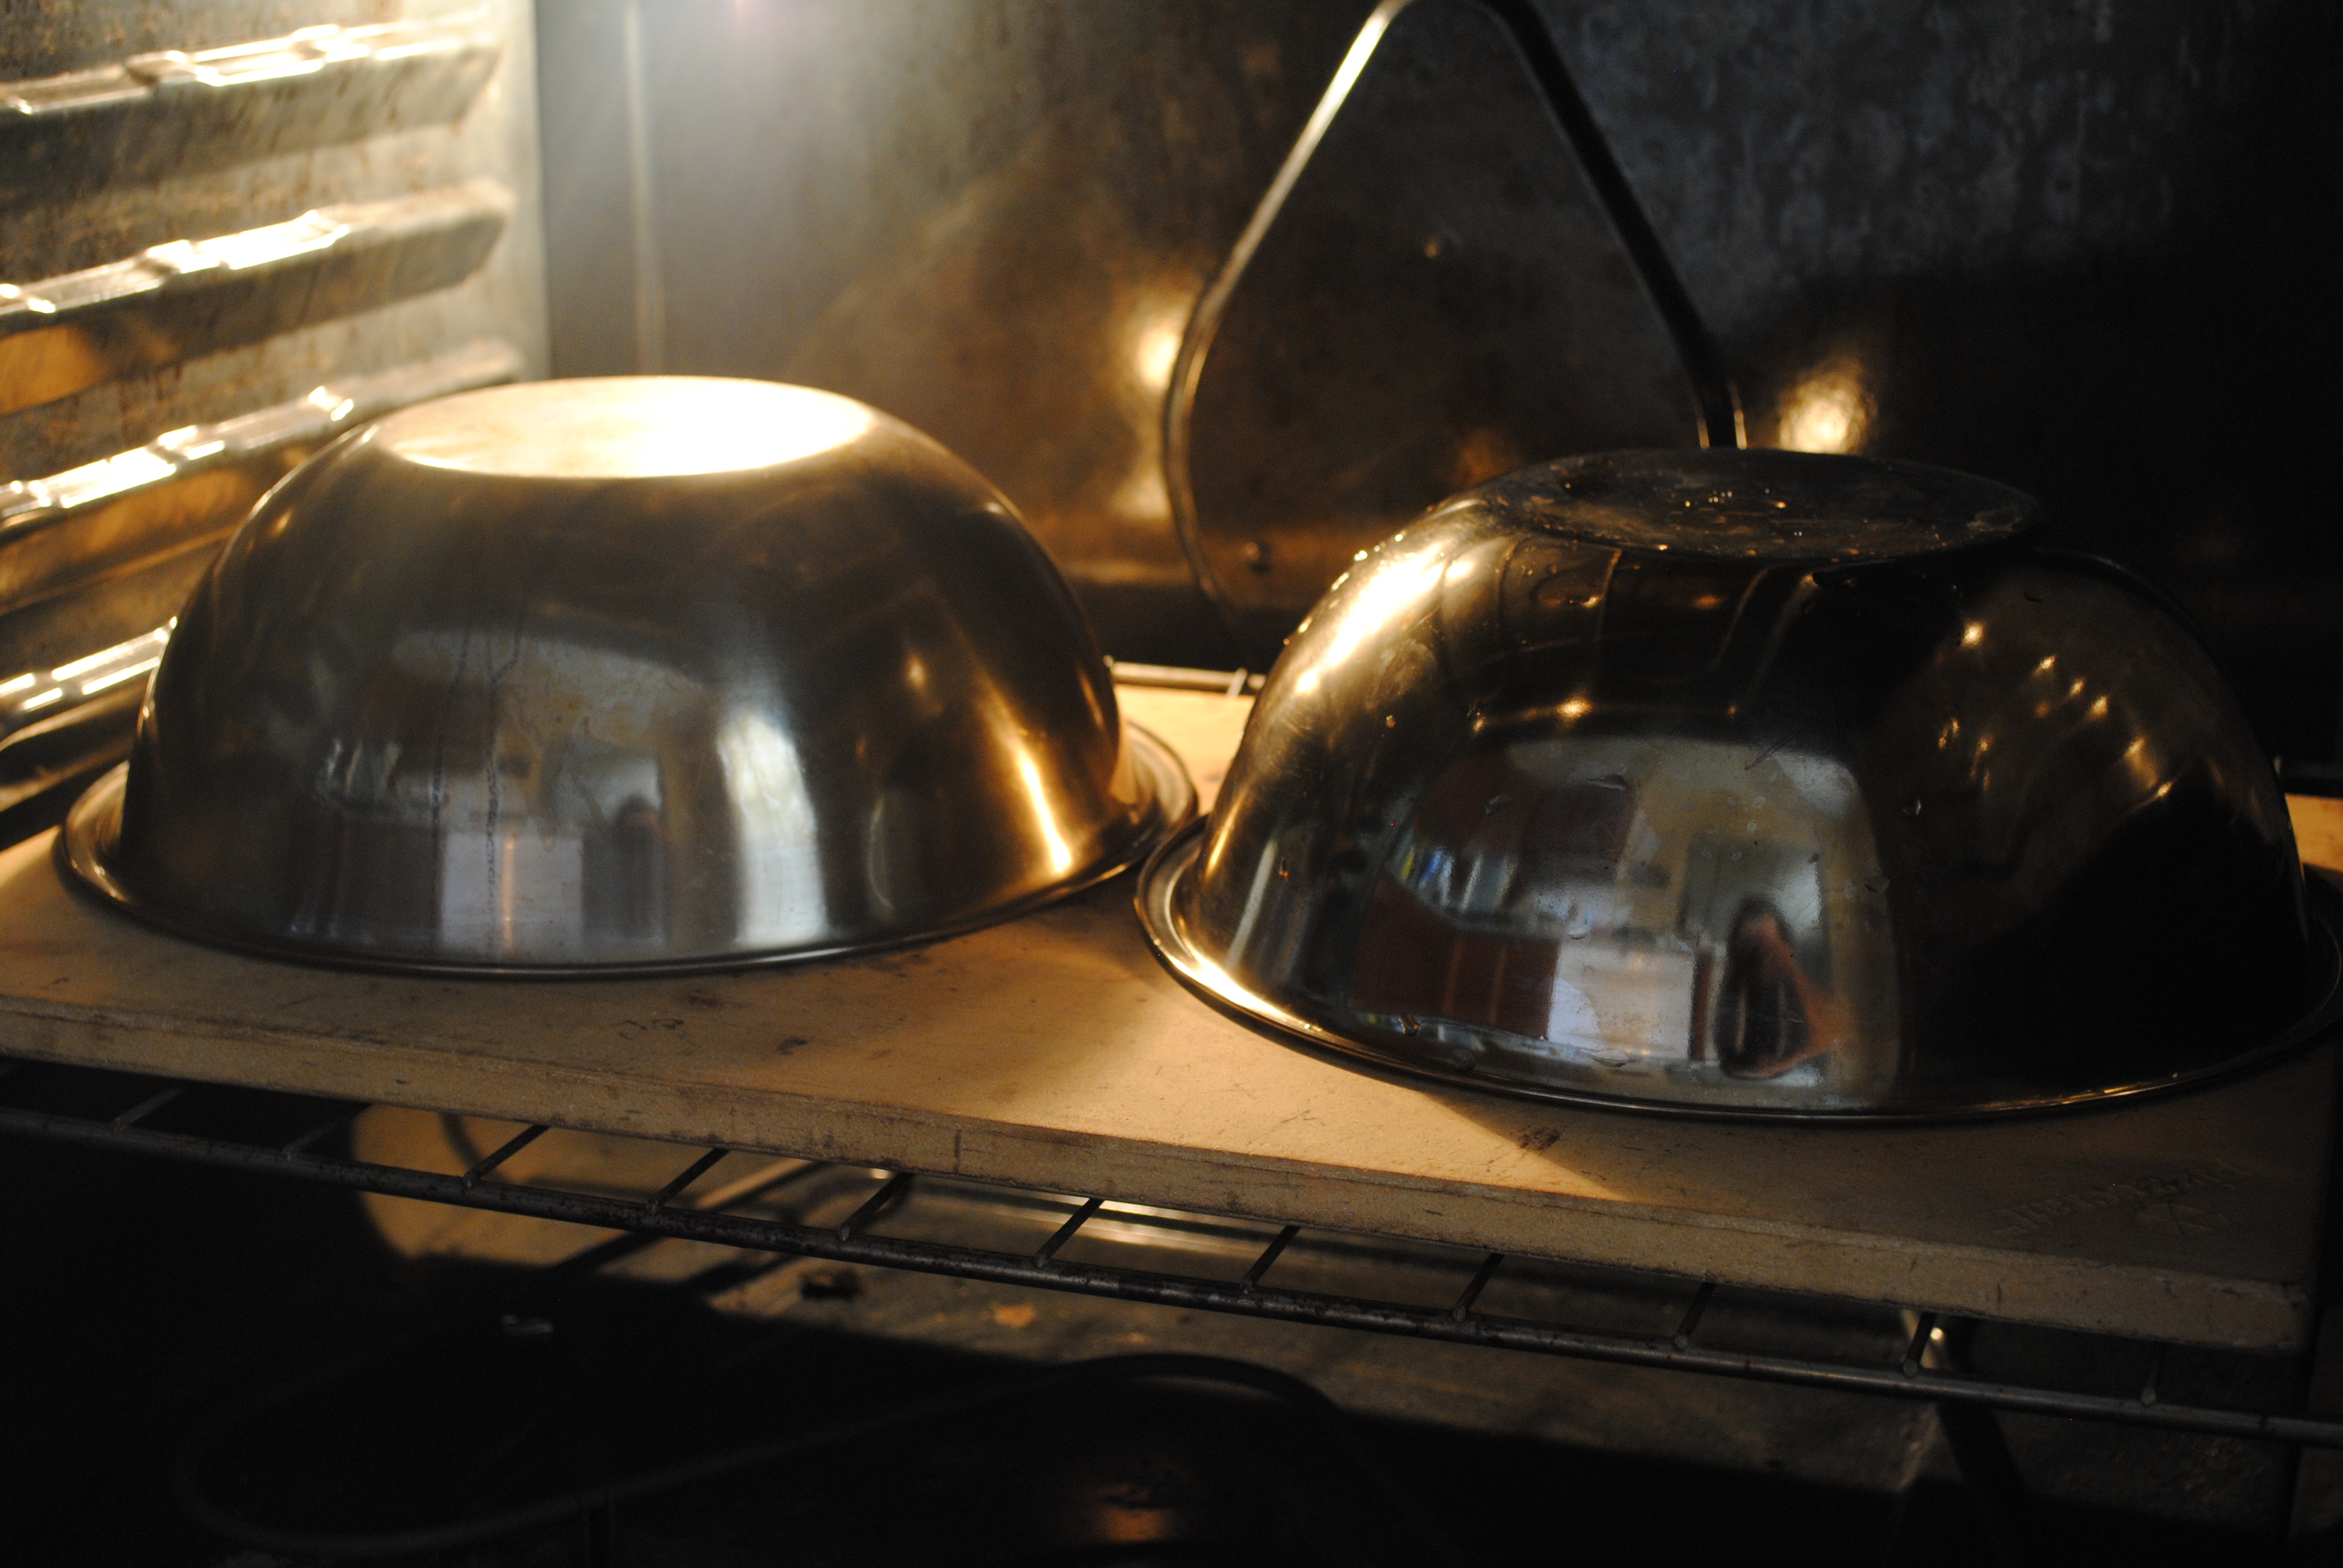
Whether you chose to go ahead and bake after the two hours or wait overnight, 30 minutes before you load the dough, place a baking stone on the bottom rack of your oven along with a metal mixing bowl. The mixing bowl should be big enough to cover your dough, but not so large that it extends off the edge of the baking stone. Preheat your oven to 500 degrees. This temperature might sound high, but you will need this heat to achieve sufficient “oven spring” for such a wet dough. This dramatic phenomenon is an intensive yeast fermentation, where certain gases expand as the dough heats up. If you proofed your loaves overnight, take one out while your oven is preheating. I have found it more efficient to bake two of the medium or small loaves at the same time. There are, however, special considerations to be made. One, you need a baking stone that fits the full length of your oven, leaving about an inch on each side. And two, you will need two metal mixing bowls. If you don’t have these materials, just bake one loaf at a time.
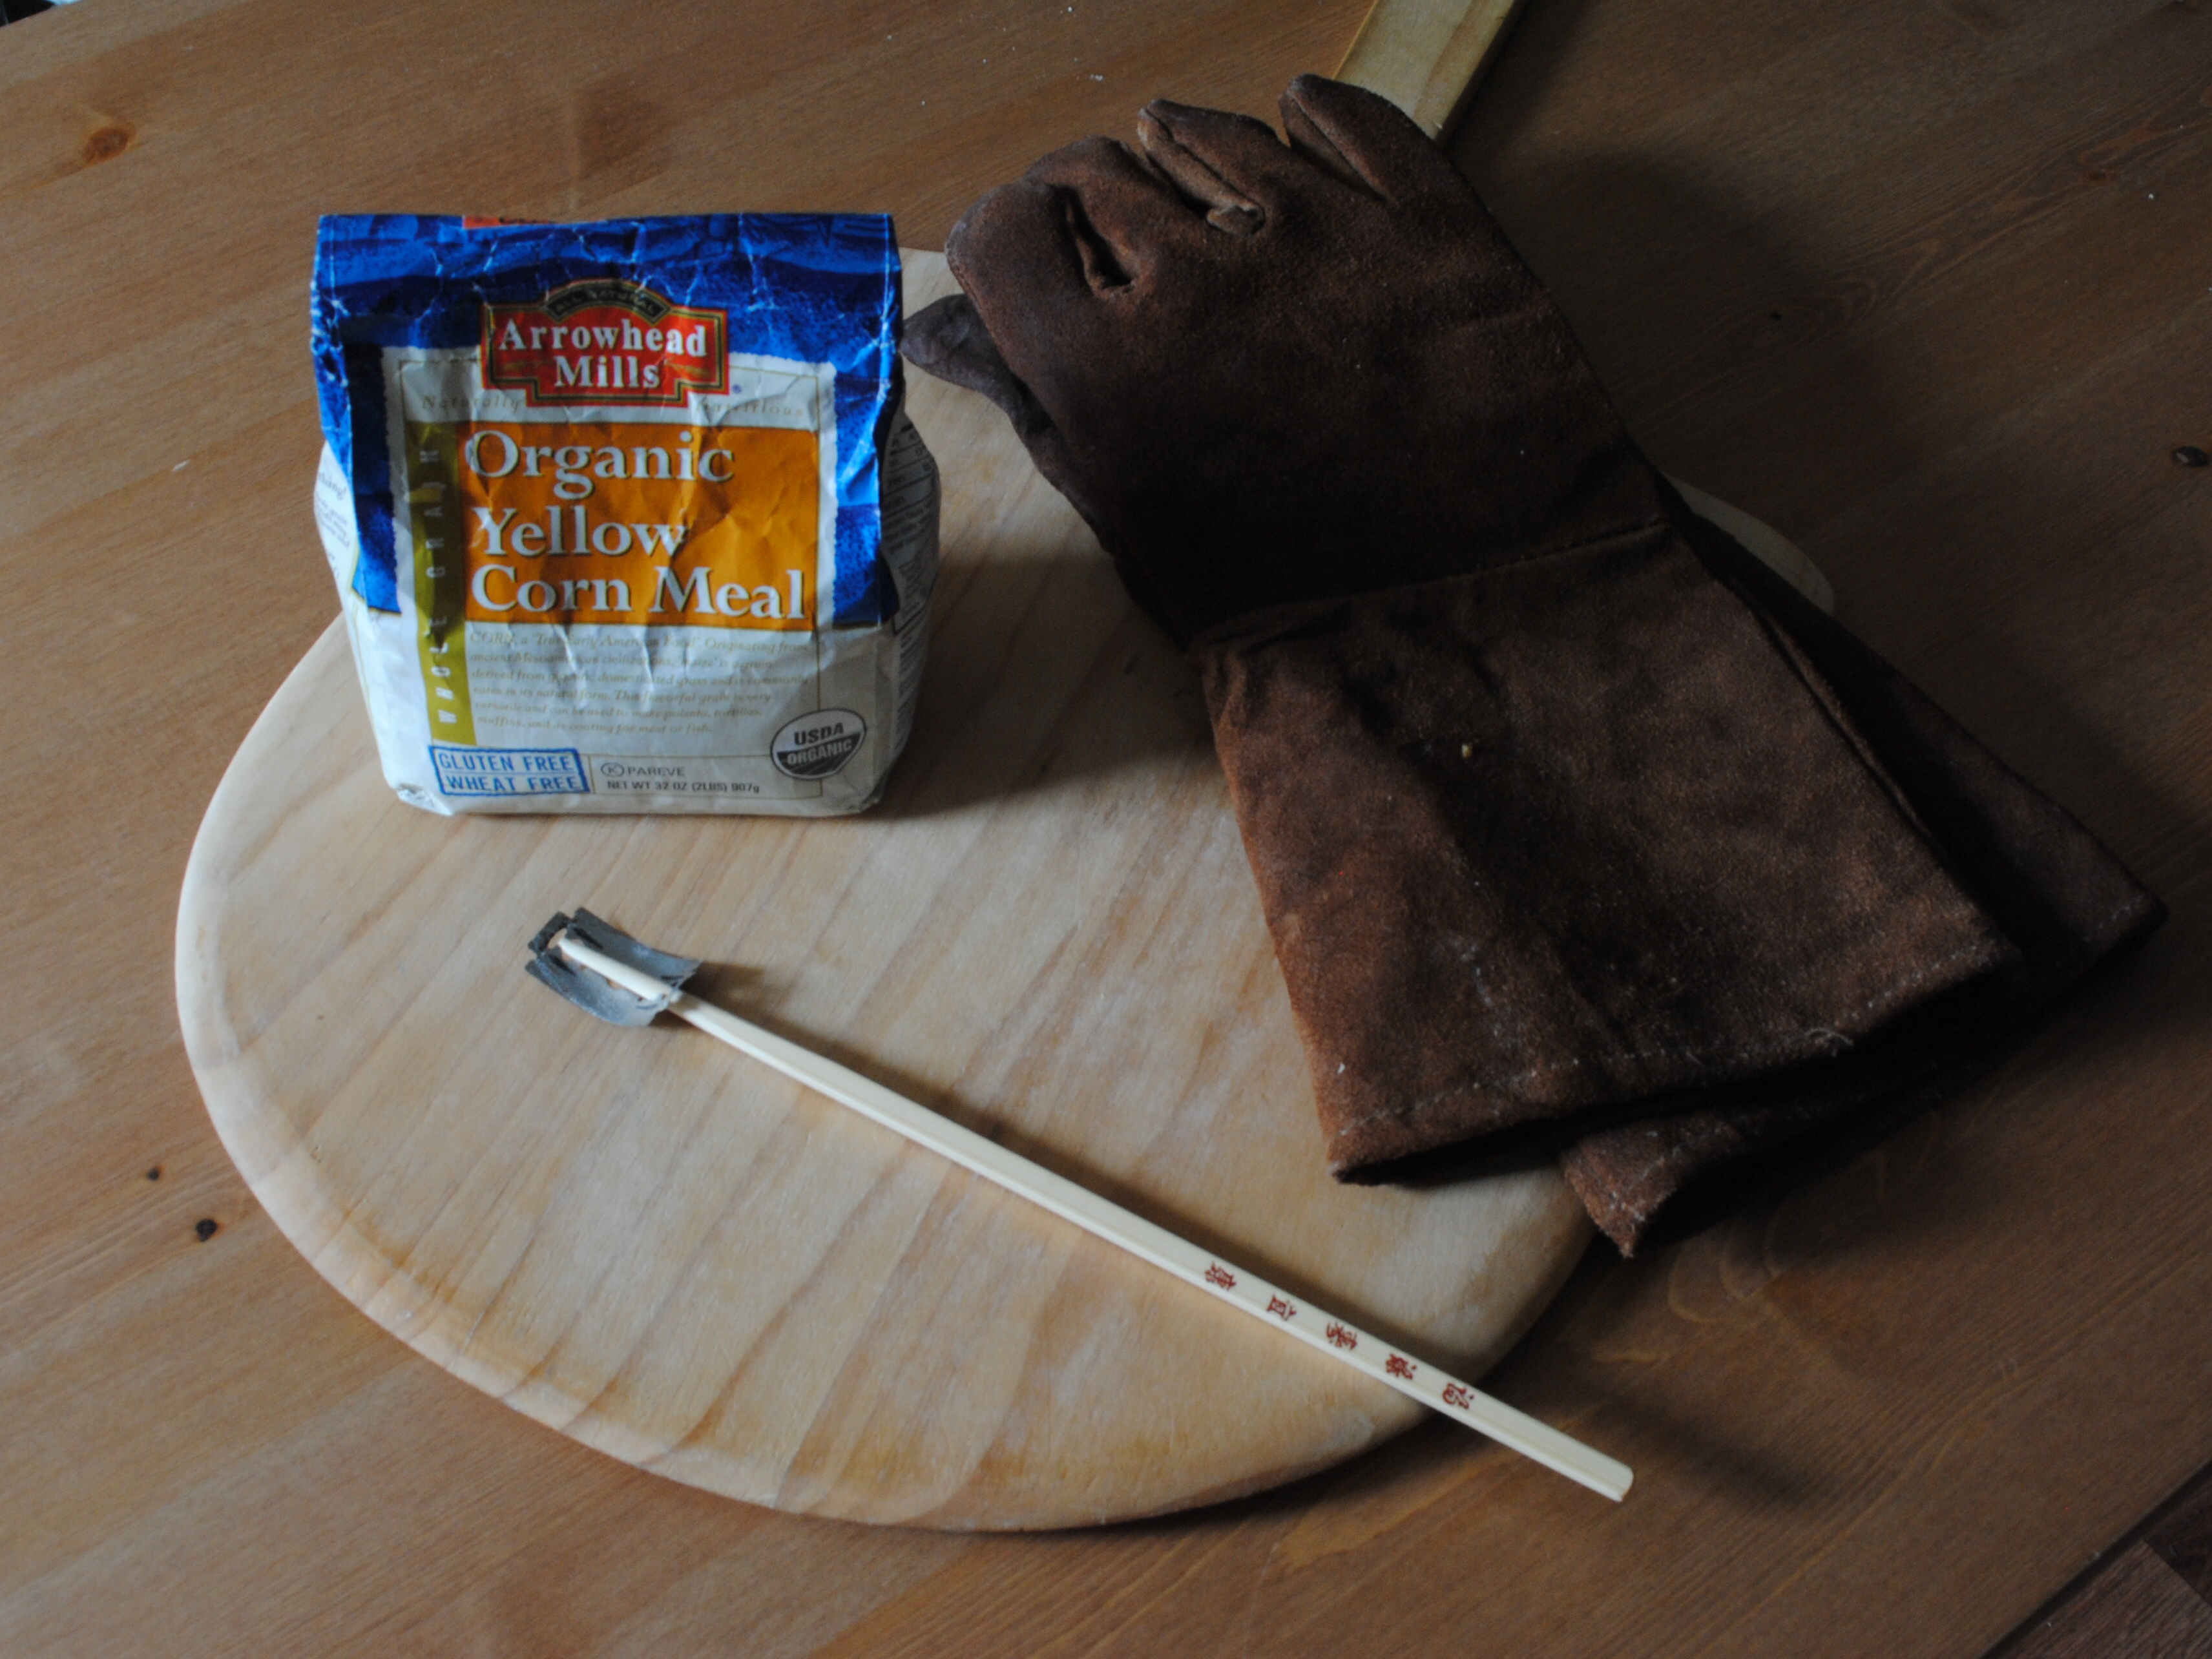
Gather materials for scoring and loading your loaves: serrated knife or razor blade, oven mitts, baking peel or cookie sheet, cornmeal. After the 30 minutes, the baking stone will be fully heated and ready to bake. Turn the dough out of the bowl and onto a cornmeal dusted peel or the underside of a cookie sheet (you want a flat surface so the dough easily slides off). Using a serrated knife or razor blade, quickly “score” or slice the surface of the dough. You can use any design of your choosing, just know that the quantity, angle, and pattern all affect how the loaf expands in the oven. I suggest using a few quick strokes in the center of the loaf as an initial pattern.
Once your dough is scored, it is ready to load into the oven. You will be executing several quick motions in rapid succession, so it is best to have your bearings about you. The goal is to get the dough smoothly onto the baking stone without losing too much heat. I find it helpful to go over the steps in my head before actually doing them:
1. Put oven mitts on
2. Open oven door and remove metal mixing bowl(s)
3. Quickly but gently slide loave(s) onto the baking stone
4. Cover loave(s) with metal mixing bowl(s)
5. Close oven door
At this point, all you can do is wait. Set a timer for 20 minutes or keep an eye on the clock. Once the timer goes off, open the oven door and remove the mixing bowl(s). You should be able to see the effects of oven spring. The dough will have greatly expanded, and the scoring will have blossomed. Depending on the size of your dough, you will need to continue to bake the bread for another 15 to 20 minutes. Medium and small loaves will take about 15 minutes and large loaves will need about 20 minutes. To ensure even browning, turn the bread 180 degrees halfway through the 15 or 20 minutes. These long baking times are important to achieving a full bake, resulting in a deeply caramelized, burnished brown loaf, with a crisp, crackling crust. If you feel your bread is getting too dark, turn the oven down to 450 degrees and finish the bake.
Wearing oven mitts, open the oven door and slide the bread onto the peel or cookie sheet, and place on a cooling rack. Brush the cornmeal off the baking stone, and replace the mixing bowl(s) in the oven. Turn the oven back up to 500 degrees (if you turned it down) for 10 minutes. After 10 minutes, score the next loaf or loaves and load into the oven following the steps above. Continue until all the loaves are baked.
Some experienced home bakers might be wondering where the steam is. Steam is an integral part of bread baking that is introduced into the baking chamber at the onset of the bake. It allows the loaf to expand without forming a crust. Because the bread is enclosed in the mixing bowl, the moisture that escapes while the bread is baking is trapped, thus creating its own steam. This technique replicates the environment of a sealed, wood-fired oven. The resulting bread has better volume, deeper caramelization, and a more open crumb structure.
How long should you wait before eating your bread? If it’s your first loaf, I would recommend tearing into it as soon as it’s cool enough to handle. If you can manage a little willpower, the longer you cool your bread, the longer it will keep fresh.

I hope you have enjoyed this blog. It has been a joy to share my love of bread. Don’t be too discouraged if things don’t work out. I’ve learned the most from my failings. Try again. Once you’re confident with the basic recipe, try playing around with other flours, ratios, and ingredients. For me, bread baking is a passion, and I hope you will find as much pleasure in it as I do. Opus Est Diligo.

Excellent!!! I love what you have done so far!
Thanks!!
this is the wonderful finale! quite an involved process, but completely worth the effort.
Luke,
What a great blog. It has made my mouth water!
You have truly put bread on a lofty platter.
Thanks Dave!!